
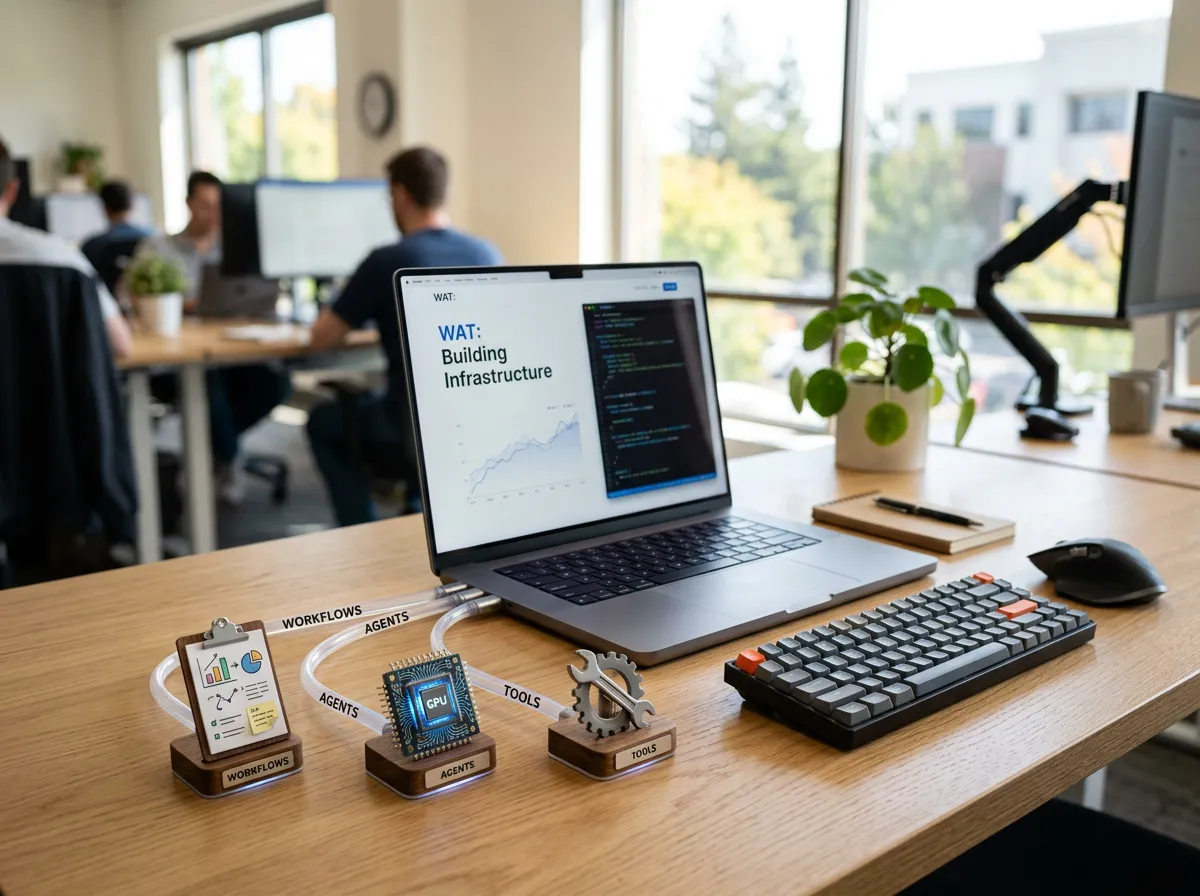
הפעם נתחיל אחרת. במקום ליצור מיד הרבה תיקיות וקבצים, ניצור תחילה פרויקט חדש ונקי, ובתוכו קובץ הוראות מרכזי אחד בלבד בשם CLAUDE.md. הרעיון פשוט: לפני שאנחנו מבקשים מ-Claude Code לבצע עבודה כלשהי, אנחנו מסבירים לו איך הפרויקט אמור לעבוד. רק לאחר שההוראות קיימות, נבקש ממנו ליצור את מבנה הפרויקט בהתאם לעקרונות שהגדרנו.
שלב 1: יצירת פרויקט חדש ונקי
נתחיל מתיקייה ריקה לחלוטין. בטרמינל, הריצו את הפקודות הבאות זו אחר זו (או צרו באופן ידני):
mkdir wat-practice
cd wat-practice
כעת פתחו את Claude Code מתוך התיקייה הזו. בשלב הזה אין לנו עדיין שום workflows, אין tools, ואין agents. יש רק פרויקט נקי שמוכן לקבל הוראות.
שלב 2: יצירת קובץ CLAUDE.md
עכשיו ניצור את קובץ ההוראות המרכזי של הפרויקט. צרו קובץ חדש:
CLAUDE.md
פתחו את הקובץ והדביקו לתוכו את התוכן הבא:
# Agent Instructions

You're working inside the **WAT framework** (Workflows, Agents, Tools). This architecture separates concerns so that probabilistic AI handles reasoning while deterministic code handles execution. That separation is what makes this system reliable.

## The WAT Architecture

**Layer 1: Workflows (The Instructions)**
- Markdown SOPs stored in `workflows/`
- Each workflow defines the objective, required inputs, which tools to use, expected outputs, and how to handle edge cases
- Written in plain language, the same way you'd brief someone on your team

**Layer 2: Agents (The Decision-Maker)**
- This is your role. You're responsible for intelligent coordination.
- Read the relevant workflow, run tools in the correct sequence, handle failures gracefully, and ask clarifying questions when needed
- You connect intent to execution without trying to do everything yourself
- Example: If you need to pull data from a website, don't attempt it directly. Read `workflows/scrape_website.md`, figure out the required inputs, then execute `tools/scrape_single_site.py`

**Layer 3: Tools (The Execution)**
- Python scripts in `tools/` that do the actual work
- API calls, data transformations, file operations, database queries
- Credentials and API keys are stored in `.env`
- These scripts are consistent, testable, and fast

**Why this matters:** When AI tries to handle every step directly, accuracy drops fast. If each step is 90% accurate, you're down to 59% success after just five steps. By offloading execution to deterministic scripts, you stay focused on orchestration and decision-making where you excel.

## How to Operate

**1. Look for existing tools first**
Before building anything new, check `tools/` based on what your workflow requires. Only create new scripts when nothing exists for that task.

**2. Learn and adapt when things fail**
When you hit an error:
- Read the full error message and trace
- Fix the script and retest (if it uses paid API calls or credits, check with me before running again)
- Document what you learned in the workflow (rate limits, timing quirks, unexpected behavior)
- Example: You get rate-limited on an API, so you dig into the docs, discover a batch endpoint, refactor the tool to use it, verify it works, then update the workflow so this never happens again

**3. Keep workflows current**
Workflows should evolve as you learn. When you find better methods, discover constraints, or encounter recurring issues, update the workflow. That said, don't create or overwrite workflows without asking unless I explicitly tell you to. These are your instructions and need to be preserved and refined, not tossed after one use.

## The Self-Improvement Loop

Every failure is a chance to make the system stronger:
1. Identify what broke
2. Fix the tool
3. Verify the fix works
4. Update the workflow with the new approach
5. Move on with a more robust system

This loop is how the framework improves over time.

## File Structure

**What goes where:**
- **Deliverables**: Final outputs go to cloud services (Google Sheets, Slides, etc.) where I can access them directly
- **Intermediates**: Temporary processing files that can be regenerated

**Directory layout:**

.tmp/           # Temporary files (scraped data, intermediate exports). Regenerated as needed.
tools/          # Python scripts for deterministic execution
workflows/      # Markdown SOPs defining what to do and how
.env            # API keys and environment variables (NEVER store secrets anywhere else)
credentials.json, token.json  # Google OAuth (gitignored)

**Core principle:** Local files are just for processing. Anything I need to see or use lives in cloud services. Everything in `.tmp/` is disposable.

## Bottom Line

You sit between what I want (workflows) and what actually gets done (tools). Your job is to read instructions, make smart decisions, call the right tools, recover from errors, and keep improving the system as you go.

Stay pragmatic. Stay reliable. Keep learning.
זהו הקובץ שמגדיר ל-Claude Code את אופי העבודה בפרויקט. שימו לב שזה אינו workflow ספציפי, אלא שכבת ההפעלה הכללית של הפרויקט כולו, ה"חוקה" שלפיה הכל מתנהל.
שלב 3: הפרומפט הראשון ל-Claude Code
עכשיו ניתן ל-Claude Code הוראה אחת בלבד: לקרוא את הקובץ CLAUDE.md וליצור את מבנה הפרויקט לפי ההוראות שבו. הדביקו את הפרומפט הבא ב-Claude Code:
|
Read CLAUDE.md carefully. Initialize this project according to the WAT framework described there. Create the basic project structure only: Do not create a specific workflow yet. Do not create tools yet. Do not add credentials or secrets. Add short README files where needed so the purpose of each folder is clear. Keep everything minimal and practical. |
שימו לב לנקודה החשובה כאן: אנחנו לא מבקשים מ-Claude להתחיל לעבוד על תהליך עסקי כלשהו. אנחנו רק מבקשים ממנו להקים את השלד הנכון של הפרויקט.
שלב 4: מה Claude אמור ליצור?
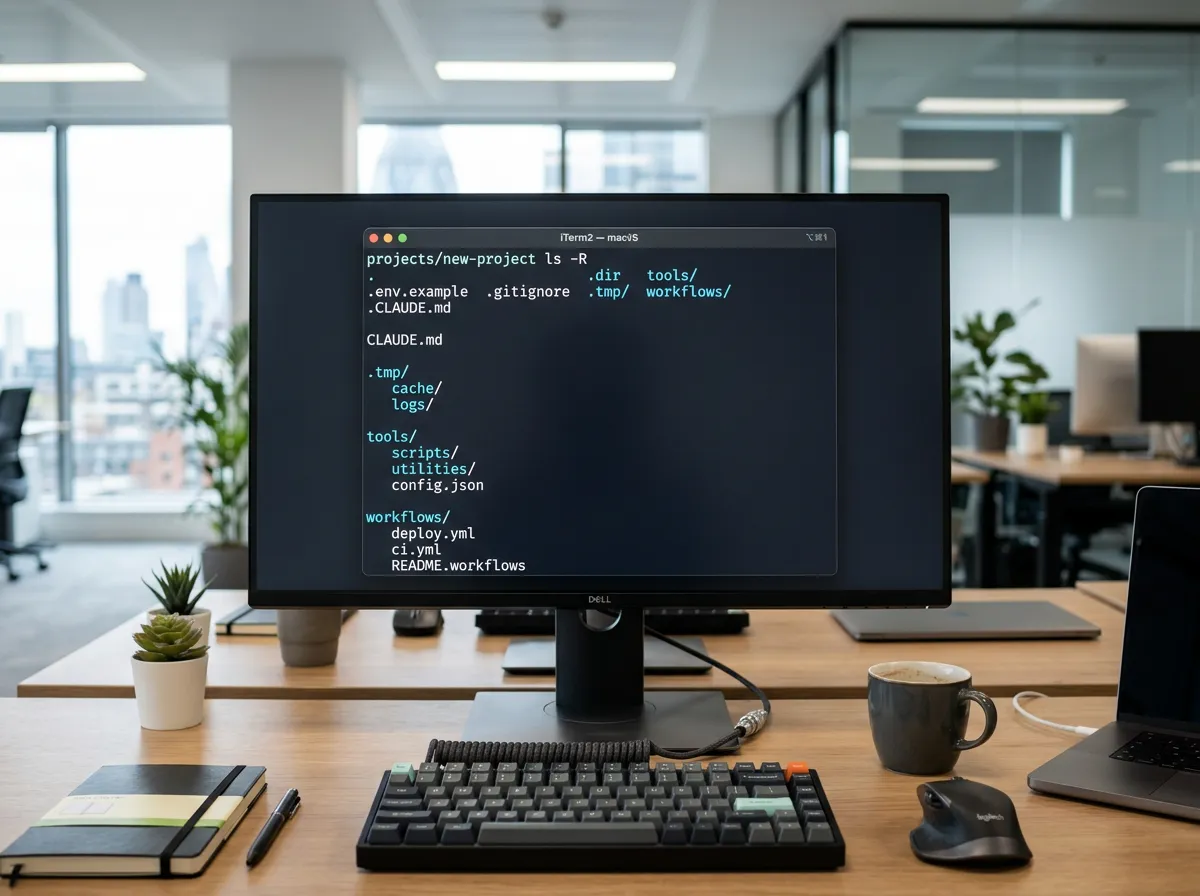
לאחר הרצת הפרומפט, מבנה הפרויקט אמור להיראות בערך כך:
wat-practice/
  CLAUDE.md
  .gitignore
  .env.example
  .tmp/
    README.md
  tools/
    README.md
  workflows/
    README.md
כאן בדיוק רואים את הרעיון המרכזי של WAT: עדיין לא ביצענו שום עבודה אמיתית, אבל כבר יצרנו גבולות ברורים. כל רכיב בתשתית יודע מה תפקידו:
- הקובץ
CLAUDE.mdמגדיר כיצד Claude Code אמור לעבוד. - התיקייה
workflows/תשמש לשמירת נהלי העבודה. - התיקייה
tools/תשמש לסקריפטים דטרמיניסטיים. - התיקייה
.tmp/תשמש לקבצים זמניים בלבד. - הקובץ
.env.exampleמראה אילו משתני סביבה יידרשו, מבלי לשמור סודות אמיתיים.
שלב 5: מעבר להדגמת עבודה אמיתית
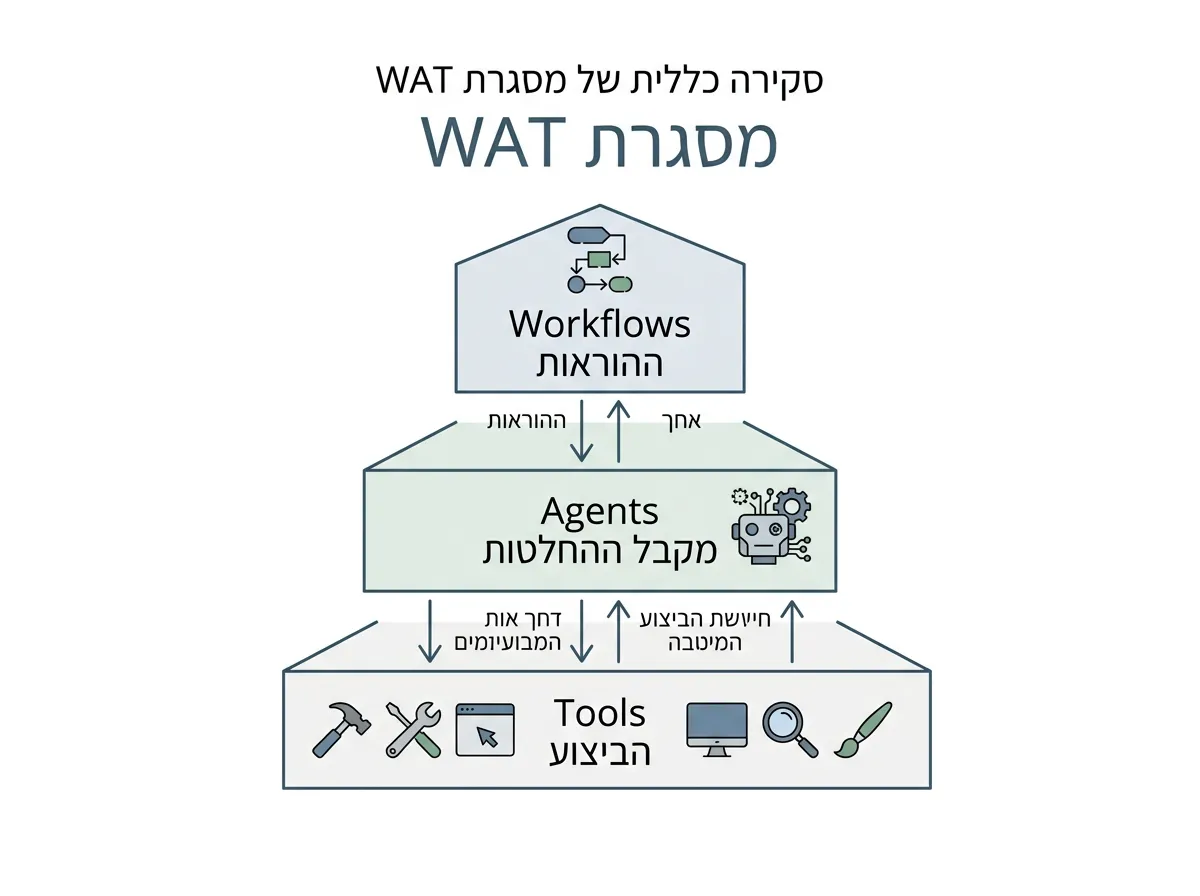
רק עכשיו, לאחר שהתשתית מוכנה, נעבור מהקמת השלד אל הדגמת העבודה עצמה. מכאן והלאה נבנה workflow ספציפי, נוסיף כלי קטן במידת הצורך, ונראה כיצד Claude Code עובד לפי ההפרדה המסודרת של WAT. כדאי לזכור את שלושת התפקידים המרכזיים:
- Workflow אומר מה צריך לקרות.
- Agent מחליט כיצד להתקדם בין השלבים השונים.
- Tool מבצע פעולה מדויקת שאינה צריכה להישען על שיקול דעת של מודל.
במילים פשוטות: לא מתחילים מהאוטומציה עצמה, אלא מהוראות העבודה. רק לאחר מכן Claude Code בונה את הפרויקט סביבן.
שלב 6: יצירת ה-Workflow הראשון
עכשיו ניצור workflow ראשון שמדגים עבודה אמיתית. לדוגמה, תהליך קצר שמקבל פנייה עסקית של לקוח, מנתח אותה, ומכין סיכום פנימי. הדביקו את הפרומפט הבא ב-Claude Code:
|
Create the first workflow for this project. File: workflows/business-equipment-review.md The workflow should describe how to review a business customer request for equipment. Keep it short and practical. Include: objective, expected input, steps, expected outputs, human approval gate. Important: This workflow prepares an internal review only. It must stop before writing a final customer-facing reply. |
כאן ניתן לראות את ההבדל המהותי: במקום לבקש מ-Claude "לטפל בפנייה", אנחנו מבקשים ממנו ליצור נוהל עבודה שמגדיר כיצד מטפלים בפנייה. זהו הבדל קריטי בין עבודה מקרית לעבודה שיטתית.
שלב 7: בדיקה קצרה של ההבנה
כדי לוודא ש-Claude Code באמת עובד לפי התשתית ולא מאלתר, נשאל אותו שאלה פשוטה:
| Based on CLAUDE.md and the workflow you created, what should happen before writing a final customer-facing reply? |
תשובה טובה תבהיר שצריך לעצור לאישור אנושי לפני כתיבת תשובה סופית ללקוח. זהו בדיוק הרגע שבו מתבהר הערך האמיתי של WAT: Claude Code לא רק "עונה טוב", אלא עובד בתוך מסגרת פעולה מוגדרת וברורה.
מה הרווחנו בעצם?
כדי להבין את המשמעות של מה שבנינו, כדאי להשוות בין שני מצבים. לפני WAT, Claude Code עובד בעיקר לפי הבקשה האחרונה שלכם, ללא הקשר רחב יותר. אחרי WAT, Claude Code עובד בתוך שיטת עבודה שלמה, שמאופיינת ביתרונות הבאים:
- קיימות הוראות מרכזיות שמכוונות את כל העבודה.
- קיים מבנה תיקיות קבוע ועקבי.
- קיימת הפרדה ברורה בין תכנון, החלטה וביצוע.
- קיים מקום ברור לקבצים זמניים, לכלים ולנהלי עבודה.
- קיימת עצירה מובנית לפני פעולות שדורשות אישור אנושי.
בפרויקט קטן זה אולי נראה כמו תיעוד מיותר. אבל בפרויקט אמיתי, זה בדיוק מה שמונע את הבלגן ושומר על אמינות לאורך זמן.
סיכום הבונוס
בבונוס קצר זה בנינו את בסיס ה-WAT בצורה נקייה ומסודרת. בואו נסכם את התהליך שעברנו:
- יצרנו פרויקט ריק לחלוטין.
- הוספנו קובץ
CLAUDE.mdמרכזי. - הכנסנו לתוכו את עקרונות העבודה של WAT.
- ביקשנו מ-Claude Code ליצור את מבנה הפרויקט בהתאם.
- רק לאחר מכן עברנו ליצירת ה-workflow הראשון.
וזה בדיוק הסדר הנכון: קודם מגדירים איך עובדים, ורק אחר כך מתחילים לעבוד. ככל שתשתית העבודה תהיה ברורה ומוגדרת מראש, כך הפרויקטים שלכם יהיו אמינים, יציבים וקלים יותר לתחזוקה לאורך זמן.
בהצלחה!